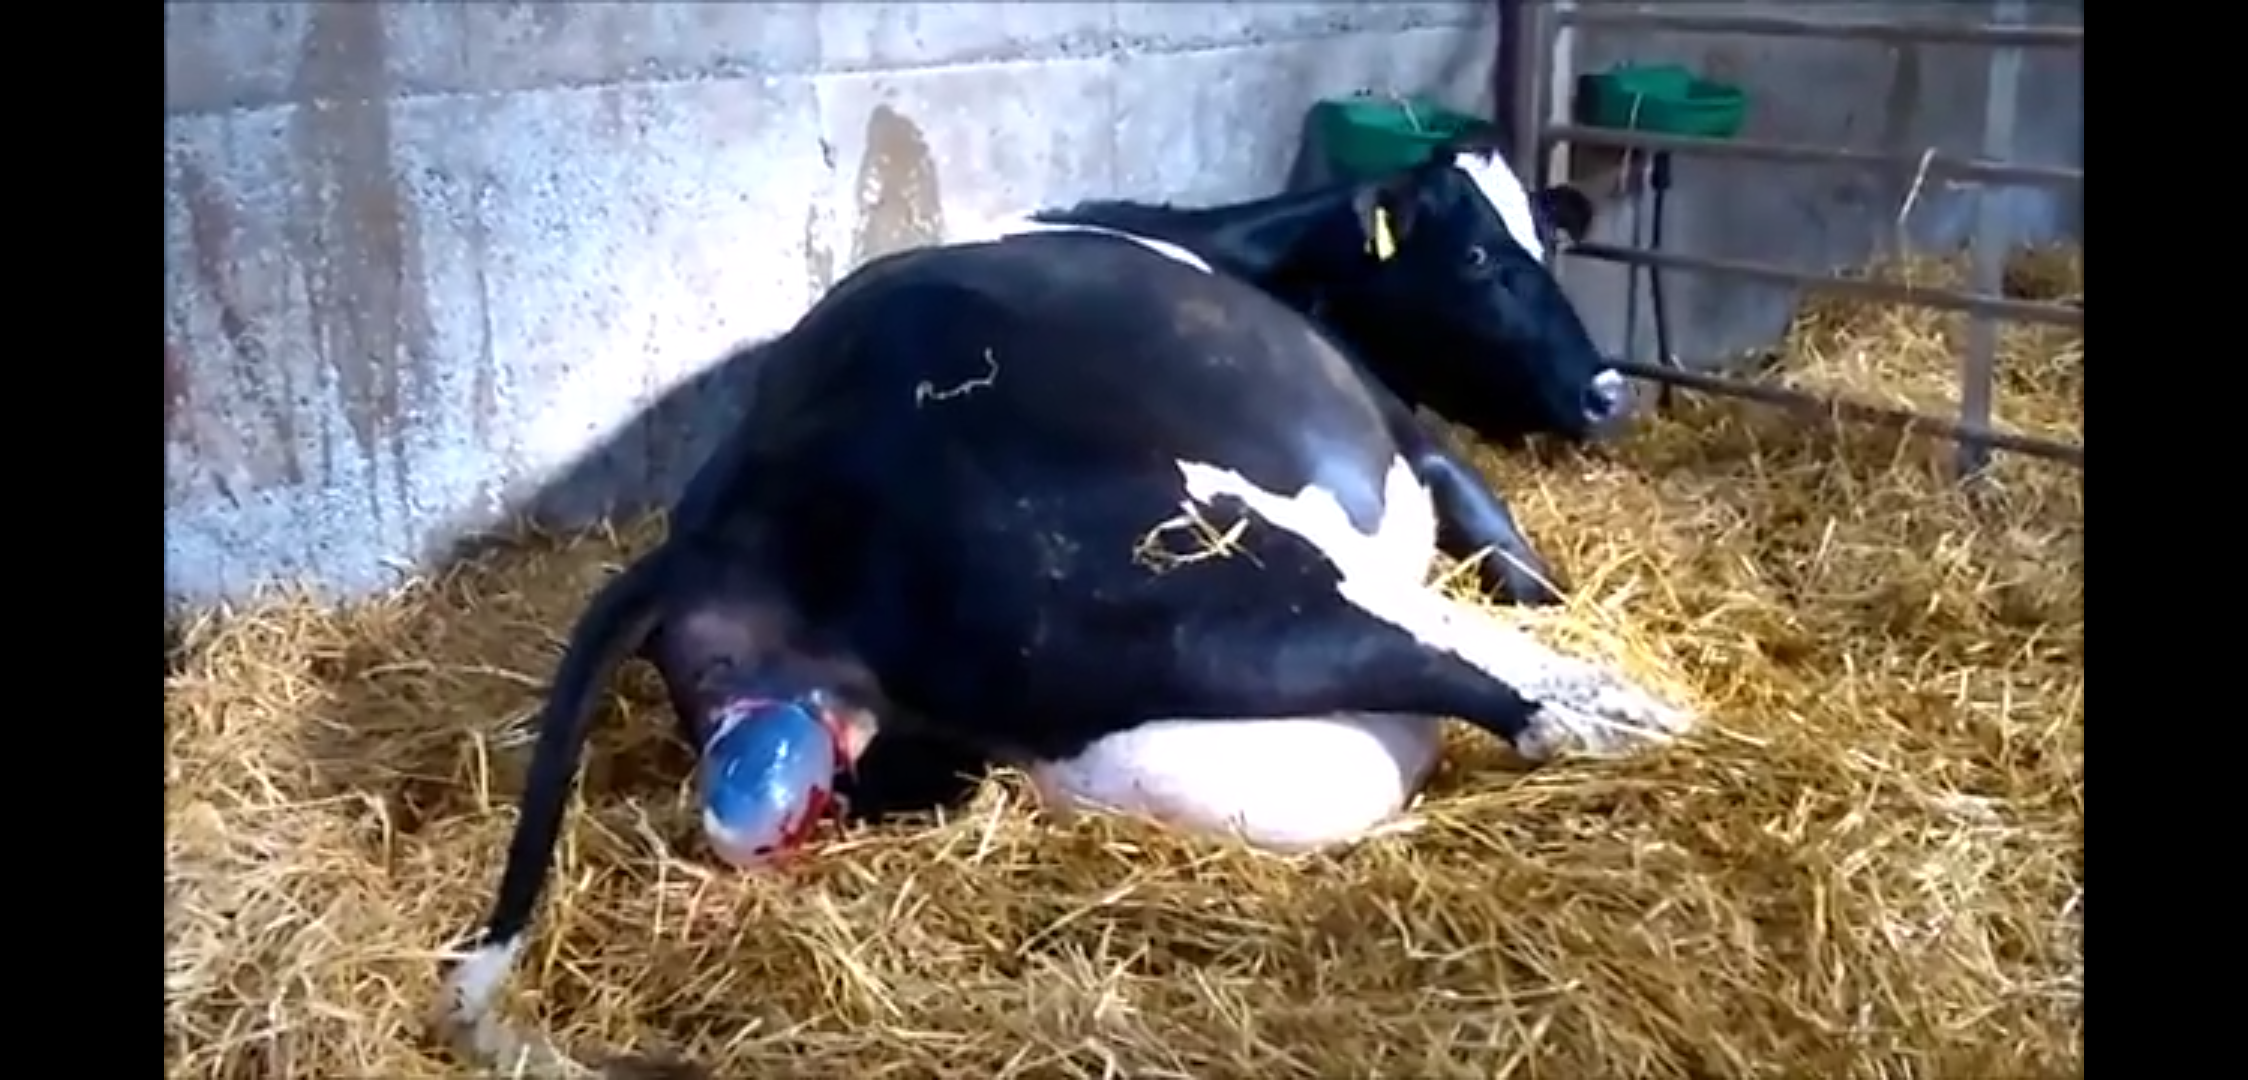
If anyone wants to know how to set up a WiFi camera this is what I did in the past to set up a camera to keep a watch on cows calving, It only took a few hours to set up and I figured if it only saved one cow with a difficult birth it would probably pay for itself, Any farmer will know what it is like to lay awake in bed thinking about that cow that is close to calving wondering if she is alright but not wanting to get out of the warm bed again to get dressed and go out on a cold rainy night just to see if everything is OK again, until finally you have to get up to milk the cows after having another night with little or no sleep.
Well the good news is that it is not that difficult to set up your camera and everything you need can be brought online and doesn’t have to cost the earth either depending on your requirements. You will need a camera, this can be a static camera fixed and pointing in one direction where the cow is calving right up to a high price camera that tilts swivels and zooms in to find any cow in the building.
Bridge kit
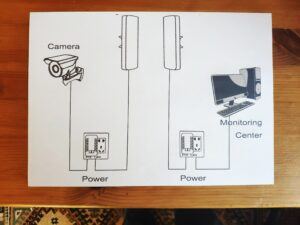
Once you have decided on your camera the next thing you need is that you have a clear line of sight from your house to the farm building. If any trees or buildings are in the way the WiFi signal will not pass through them. If you have a clear line of sight then you will need to get an Ethernet bridge kit which will send the WiFi from your house to your farm shed you will need two mounting brackets and cable to go from the receiver to the camera and the sender to your WiFi router in the house. You also need electric power in the shed near the camera but that could be in the form of an extension power cable.
If this is all starting to sound very complicated it’s not, most of the kits now are just plug and play meaning once you have your camera and aerials or bridge kit mounted you simply plug everything in. If you don’t have a clear line of sight or can’t make a line of site by either cutting down a tree or running a cable to an adjoining farm building then it can still be done but will be a more costly option as you will have to get your broadband provider to set up WiFi in the farm building and probably have to pay extra per month for the WiFi in the shed.
Getting the right kit and setting it up properly should serve you for many years to come the kit below can work 2 km distance and the camera has up to 20m night vision for dark sheds.
Click image for more information


If you had a good year and prices were good and want to go for a better system with more features then the camera below has a tilt and zoom feature which could also be useful in the slatted shed or if you need to watch several cows at the same time. It can be watched and moved on your smartphone using an app has 10x zoom and should work up to 3km from your house. It also has a huge 100m night vision so you should be able to pick out any cow in the house and zoom in to see what is happening. You can even get an optional remote joy stick control if you wanted something extra.
Click image for price and more information


If you already have WiFi and a wireless router in the farmyard or shed or if the calving shed is right next to your dwelling house then you need just buy a suitable camera which would be a cheaper option. Other bridge kits will work at longer distances of up to 15 or 20km but will cost more to purchase and will also need a clear line of sight. In my opinion the WiFi signal will travel through a glass window but not much else.
Pay as you go
Another final option if you can’t get WiFi into the shed and you have 4g coverage, that is if you can use the internet on your mobile phone in the shed using mobile data then there are cameras like THIS ONE that will take a phone sim card and work through the mobile data 4g network. While this method will work you will have to pay either a monthly bill of top up pay as you go in the same as you would with a mobile phone. This type of system would also work as a security camera on an out farm and there are some cameras that will work from a solar panel of batteries if you want to put in a location with no electricity such as a road entrance which can be viewed in real time or will take a photograph from a motion sensor and send a text to your phone.
Personally I would go for the bridge kit and camera setup as once it is properly installed you should not have any other running costs and some rural areas might not have great phone coverage. You also won’t have any extra bills every month or the hassle of running out of phone credit when a cow is calving but it is still an option and will suit some people in certain locations.
For information purposes I have included a video from you-tube showing how the bridge kit works which will come with it’s own set of instructions anyway on how to install and set up on your computer. If you should need anything extra like wall mounts or longer Ethernet cable they can be ordered through Amazon or eBay for a cheap enough price. I should add that the camera I set up on my farm was not the same as linked above but it is a very similar set up. There are literally hundreds of cameras online today from stores like amazon or eBay to suit every budget.
This article is just to help someone thinking of setting up their own camera of some options that are out there and what is involved in the setup which in my mind I found to be simple enough.
Below is another video of how to get internet to an out-barn or shed but instead of a computer you could just plug right into the camera in the shed side and either into a computer or wireless router in the home.